File Importer
The File Importer converts any material list file — XLSX, XLS or CSV — into the CSV templates required by the Procurement Cockpit (supply package) and by Evaluator › Lists (material list). It handles the messy realities of material list files: multiple sheets, non-zero header rows, inconsistent column names, free-text condition values, and missing part attributes.
The importer runs as a five-step wizard.
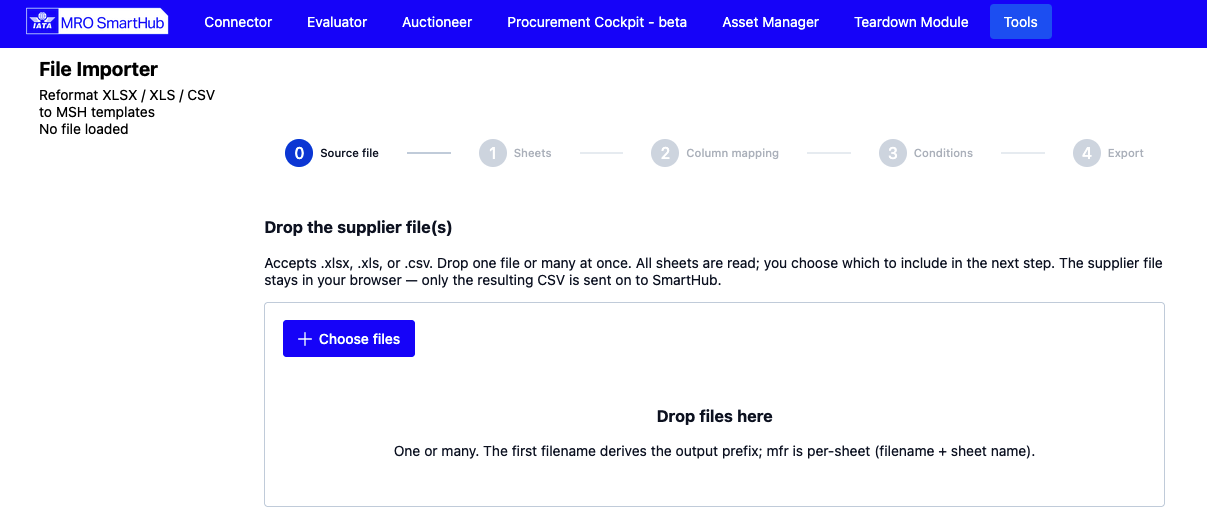
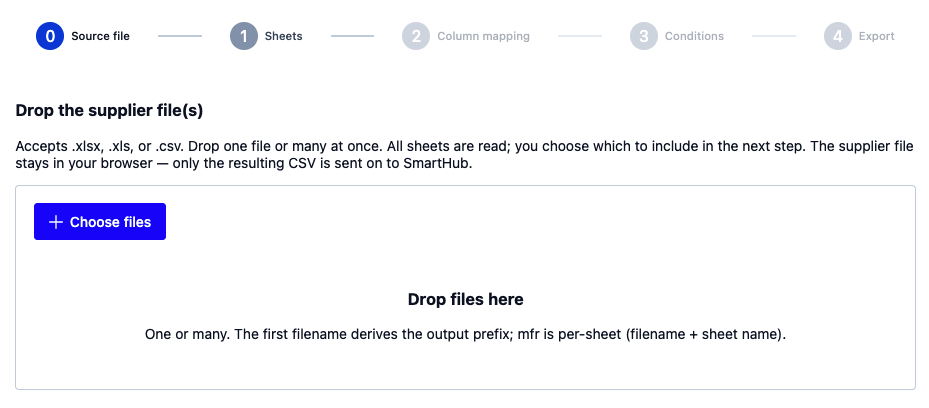
Step 1 — Source file
Drop one or many material list files onto the drop zone (or use Choose files). Accepted formats:
.xlsxand.xls— every sheet in the workbook is read..csv— treated as a single sheet.
You can add more files at any point in Step 2. The first filename you
drop becomes the default output filename prefix; the per-row mfr
value is derived per sheet from filename + sheet name, so multiple
sheets from the same workbook still carry distinguishable provenance
through to the output.
Step 2 — Sheets & header rows
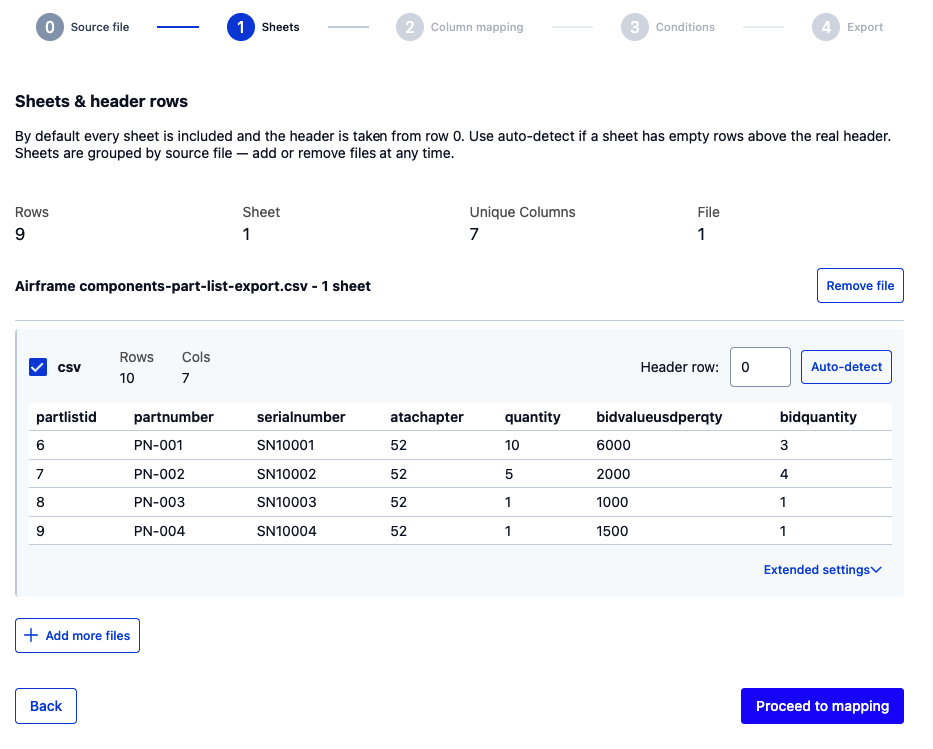
Every sheet from every dropped file is listed here, grouped by source file. For each sheet you can:
Toggle inclusion with the checkbox on the left. Only ticked sheets flow into the mapping step.
Set the header row — by default row
0is treated as the header. If a sheet has empty rows or a title block above the real header, either type the correct row index or click Auto-detect.Preview the first rows in the on-screen table (up to 12 columns).
Open Extended settings to enable forward-fill blanks on individual columns — the last non-empty value is copied into the rows below (per sheet). Columns with a high blank rate carry a yellow
% blanktag so you can spot merged-cell artefacts quickly.
KPIs at the top summarise the currently-active selection: total rows, number of active sheets, unique column names across all sheets, and number of source files. Use Add more files to append additional workbooks without leaving the step.
Step 3 — Column mapping
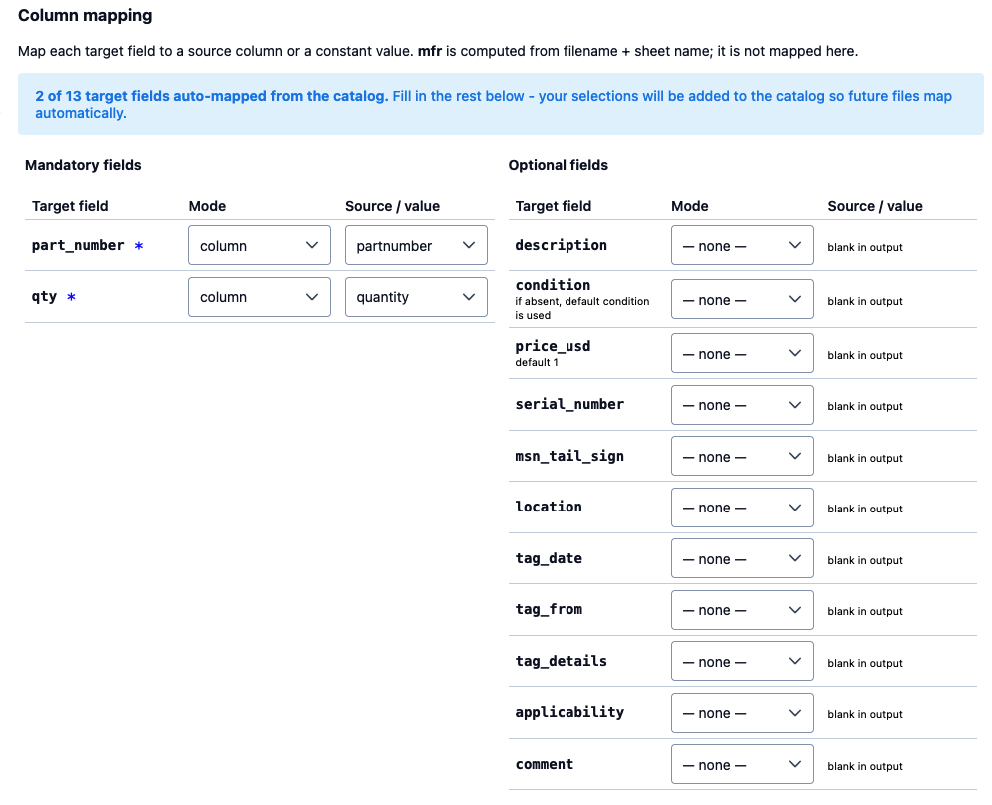
Map each target field (the columns IATA MRO SmartHub expects) to a source column from your file, or to a constant value, or leave it blank in the output. The wizard splits the mapping into two tables:
Mandatory fields — must be mapped for the output to be usable.
part_numberandqtyare required.conditionis technically optional; if not mapped, the default condition chosen in Step 4 is used for every row.Optional fields —
description,price_usd(default1USD),serial_number,msn_tail_sign,location,tag_date,tag_from,tag_details,applicability,comment.
Note
The mfr column is not mapped here. It is derived per row from the source filename and sheet name so that provenance is always traceable in the output.
Auto-mapping via the catalogue
When the step opens, the importer tries to auto-map every target field
using the synonym catalogue — a per-company dictionary of known
source-column names (e.g. PN, P/N, Item No → part_number).
A message at the top of the step tells you how many fields were
resolved and prompts you to fill in the rest.
Any manual mapping you choose is remembered on submit: the new synonyms are added to your company’s catalogue, so the next file that uses the same column names is auto-mapped without any input.
Live preview
Below the two mapping tables, a Live preview shows the first eight
mapped rows with the resolved values for part_number,
description, qty, condition and mfr. Any change in the
mapping tables updates the preview instantly.
Step 4 — Condition normalisation
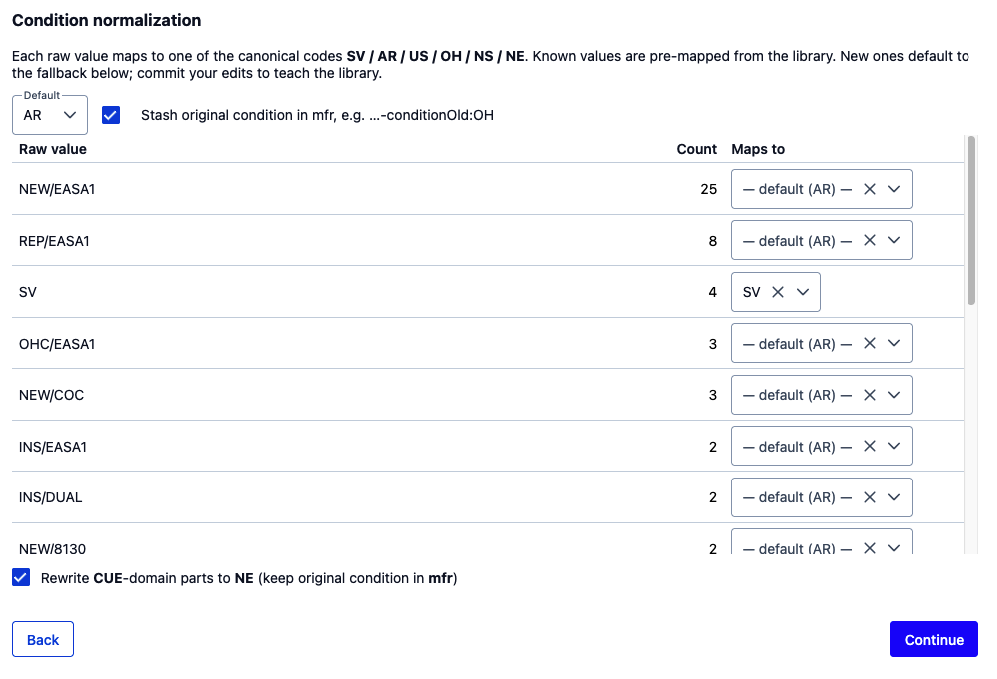
Material list files rarely use the six canonical IATA MRO SmartHub condition codes.
The importer collects every distinct raw value found in the
condition source column and lets you map each one to a canonical
code:
Code |
Meaning |
|---|---|
NE |
New |
NS |
New Surplus |
OH |
Overhauled |
SV |
Serviceable |
AR |
As Removed |
US |
Unserviceable |
The frequency column shows how many rows carry each raw value so you can prioritise the ones that matter. Values that were already known from the condition dictionary come pre-mapped; new mappings you make are saved back to the dictionary on submit and pre-applied next time.
Two global controls sit above the table:
Default condition — used when the raw value is empty or when a value is not mapped. Defaults to
AR.Stash original condition in mfr — appends
…-conditionOld:XXto themfrfield so that the original material condition is not lost after normalisation. Recommended when you are consolidating a mixed-quality material feed.
The CUE domain rule
A checkbox at the bottom activates a domain-specific rule:
Rewrite CUE-domain parts to NE (keep original condition in mfr).
Consumables and expendables (CUE) are almost always sold as new; when
enabled, any row whose resolved material domain is CUE has its
condition rewritten to NE. The original condition is preserved in
the mfr field regardless of the Stash original condition toggle
above. Leave this on unless you have a specific reason to keep
non-NE conditions on CUE parts.
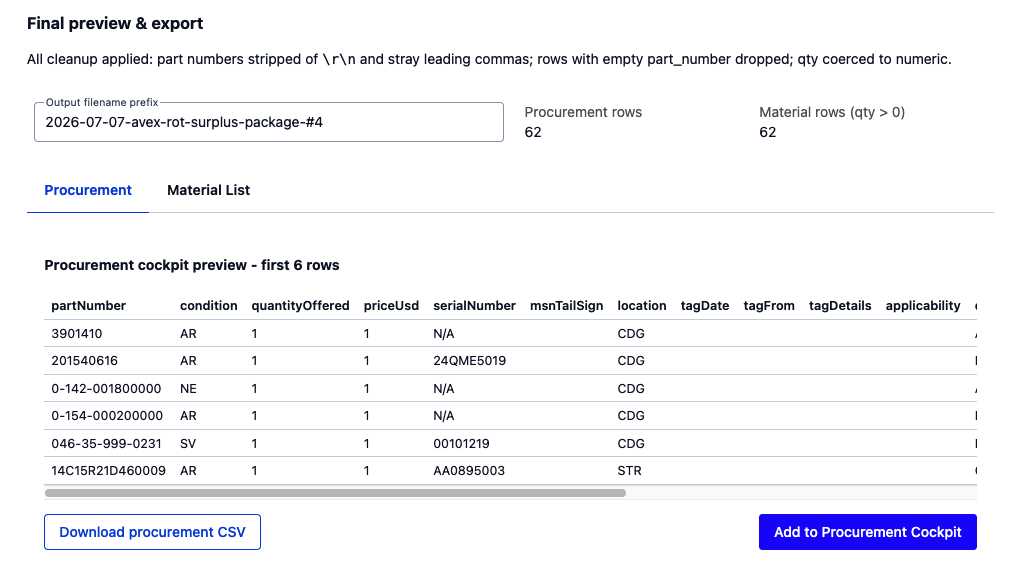
Step 5 — Final preview & export
The last step shows the fully-processed rows in two shapes on separate tabs:
Procurement — matches the
/procurement-listingsupload schema. Columns:partNumber,condition,quantityOffered,priceUsd,serialNumber,msnTailSign,location,tagDate,tagFrom,tagDetails,applicability,description,mfr,comment.Material List — matches the
/material-listsupload schema. Columns:partNumber,mfr,partCondition,partQuantity,partUnit,priceUsd. Rows withqty ≤ 0are dropped automatically — a material list is a valuation input, not an availability list.
At this stage the importer has already applied the usual cleanup:
part_number values stripped of \r\n and stray leading commas,
rows with an empty part_number dropped, qty coerced to numeric.
KPIs at the top of the step show the resulting procurement row count and material row count. The Output filename prefix field controls the filename for downloads (default: derived from the first source file).
Each tab exposes two actions:
Download CSV — writes the file locally as
<prefix>-<timestamp>.csv(semicolon-separated). Useful when you want to inspect or archive the CSV before uploading, or when the destination is not IATA MRO SmartHub.Add to Procurement Cockpit / Create material list — posts the CSV directly to the corresponding endpoint. A dialog asks for the metadata the destination needs (package name + supplier, or list name + partner) and confirms the upload in one step.